5 Surprisingly Simple Tweaks to Take Better Food Photos
BEFORE:
Food is served. People say grace. Then everyone enjoys the meal.
NOW:
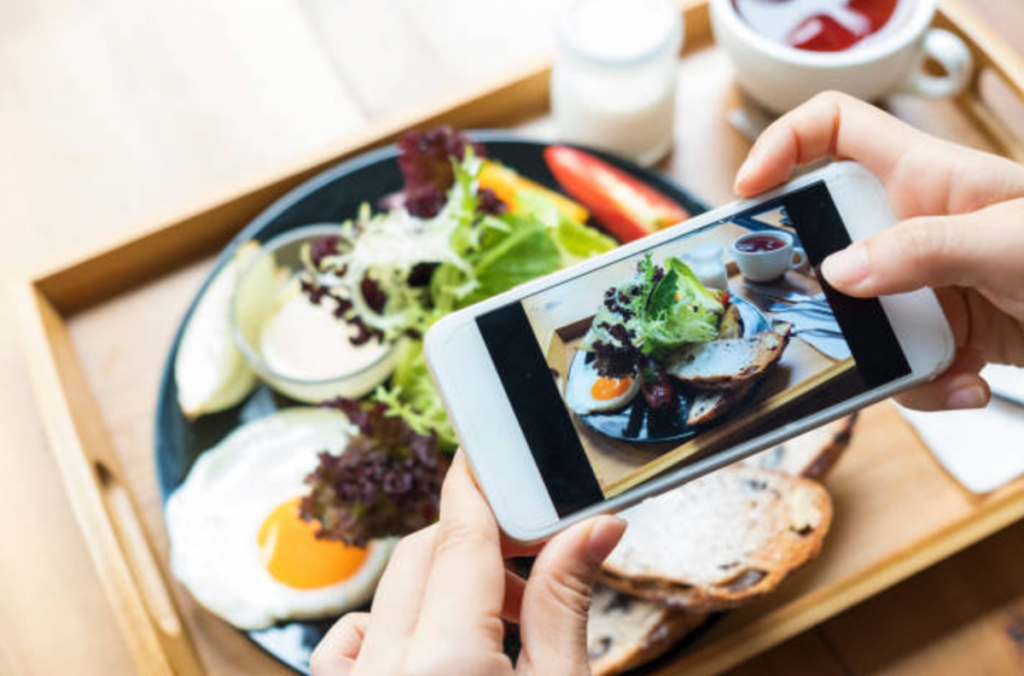
Food is served. People take out their phones. Everyone can enjoy their meal AFTER taking 101 photos.
Contents
A different angle on food

The above scenario is a common sight nowadays. Whether it is a fine dining restaurant in a hotel or a popular hole-in-a-wall eatery, you can bet that one in every five diners will whip out the camera.
Taking pictures of food and beverages before actually partaking in the meal is becoming a habit in this tech-obsessed generation. How people see food has evolved.
Nowadays, food is not merely intended for sustenance but has also become the centrepiece of aesthetic consumption. It feeds not only starving stomachs but also hungry eyes looking for pretty treats. At times even, it is a way to sate people’s appetite for attention.
Taking a Shot

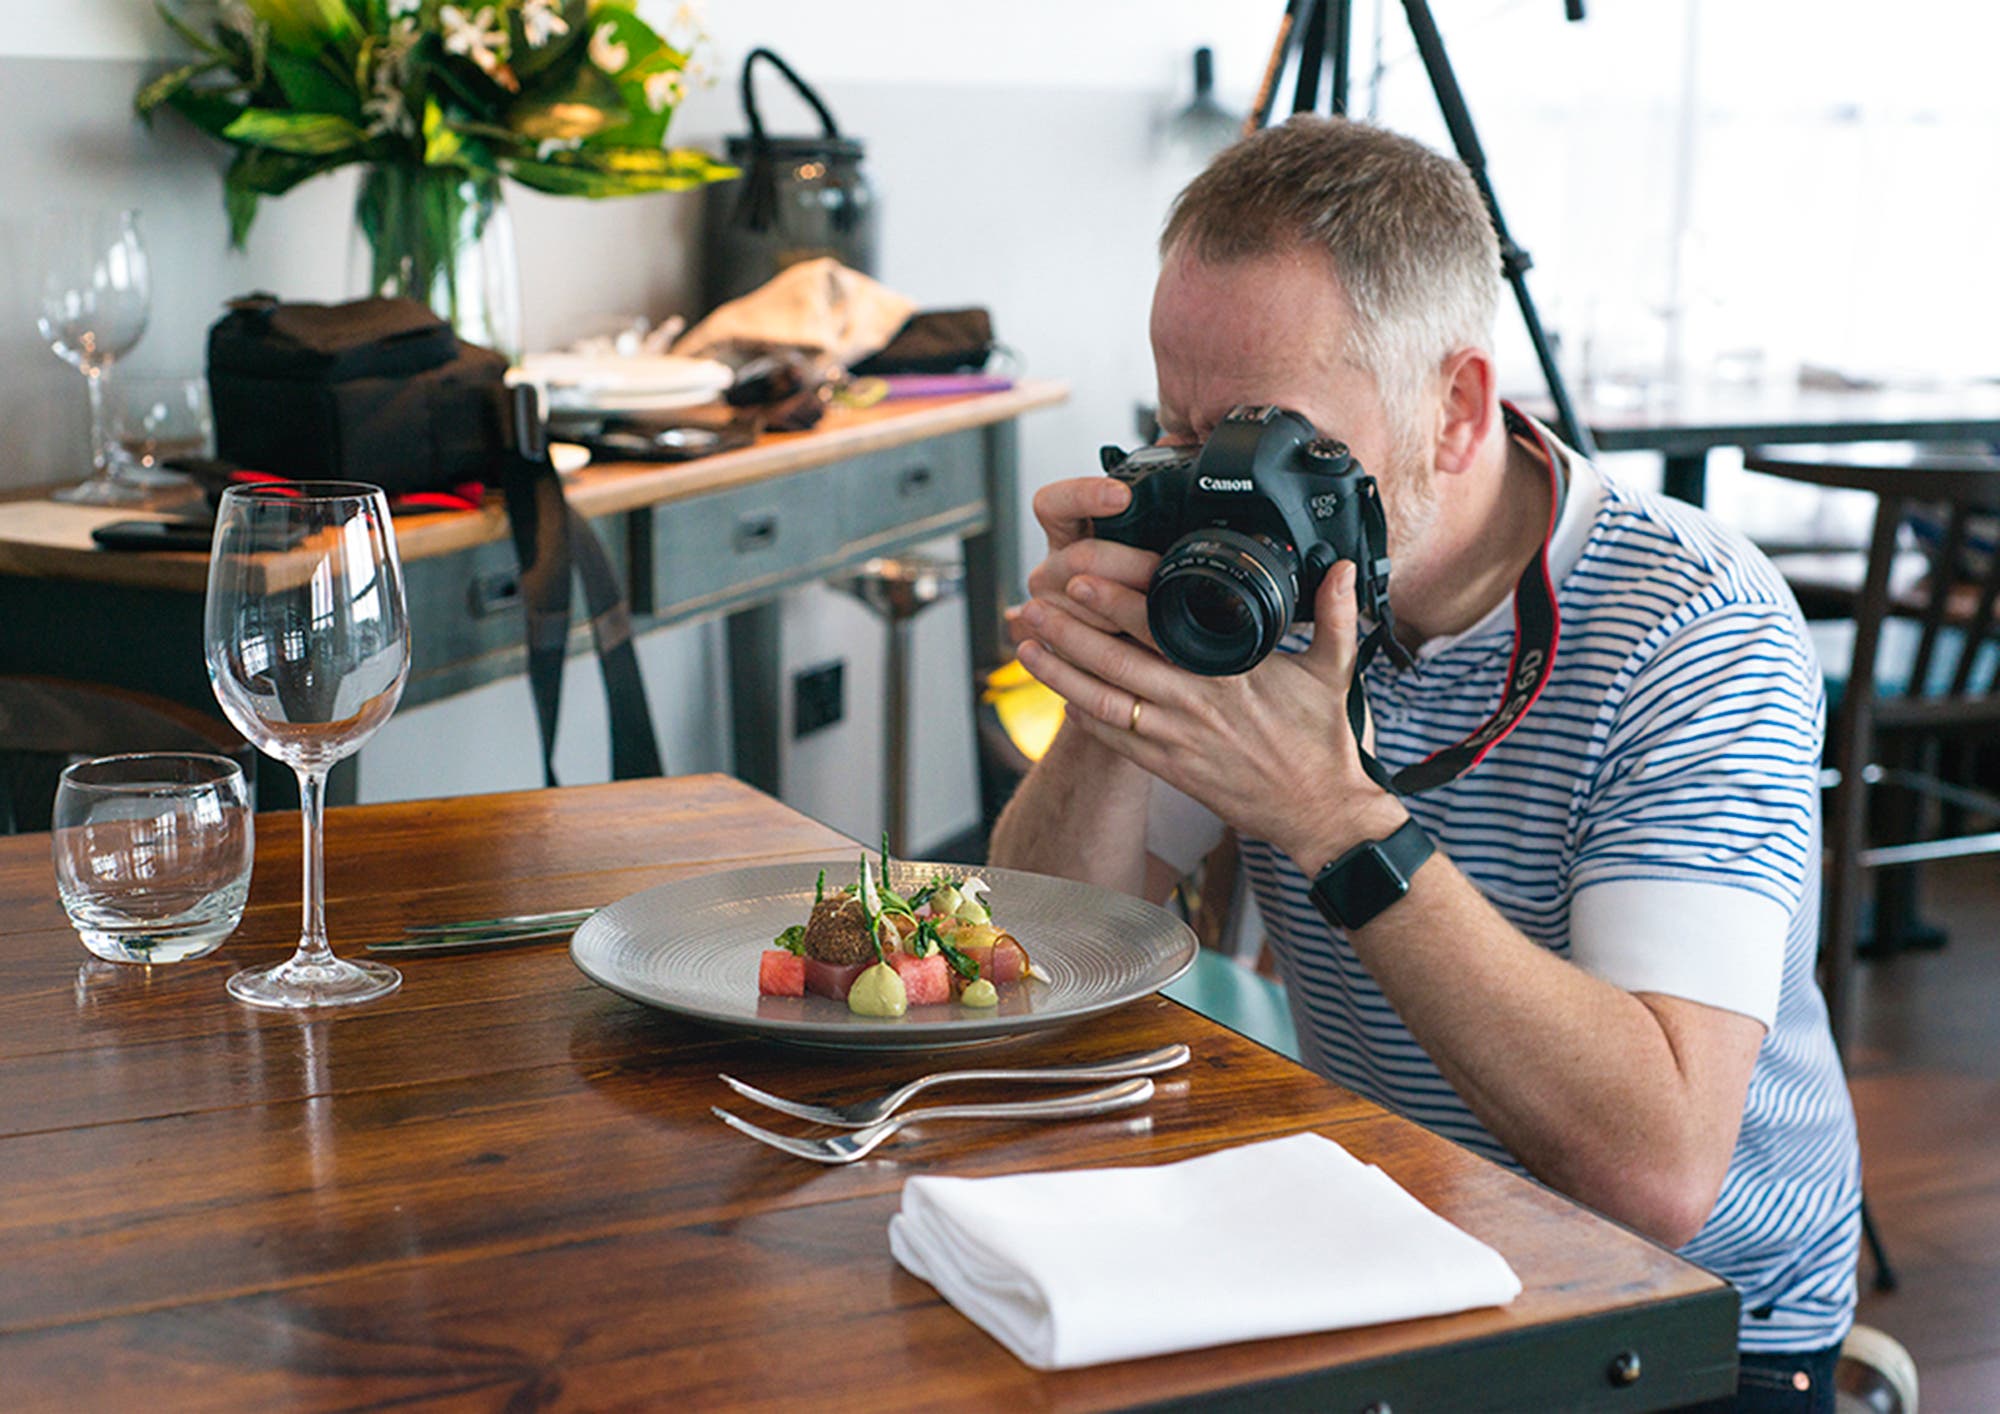
If you are a photography enthusiast who snaps pictures of food for fun, you’d most probably still be interested in how you can make your photos pop. On the other hand, if you’ve always been serious about taking a shot at becoming a pro, then you’d likely be interested to learn techniques about professional food photography.
Here, then, are some simple tips and tweaks that will develop and improve your shutter skills:
- What’s your story?
There’s a reason behind that famous line, “A picture paints a thousand words”. Mona Lisa’s smile can mean so many things to different people. Aim to do the same when you take snaps of your food. Not necessarily to brag, mind you, but to add some flavour to the shot.
Put together a shot that tells the viewer what is happening. Capture a friend taking a big bite out of that juicy burger. Snap a shot of your family laughing while sharing a gigantic bowl of ice cream. Do a close up of bonito flakes dancing merrily on a sizzling Takeyuki plate.

Let your audience taste the flavours merely by looking at your photos. Candid or staged, let your shots “talk” to your viewers.
- Explore your angles
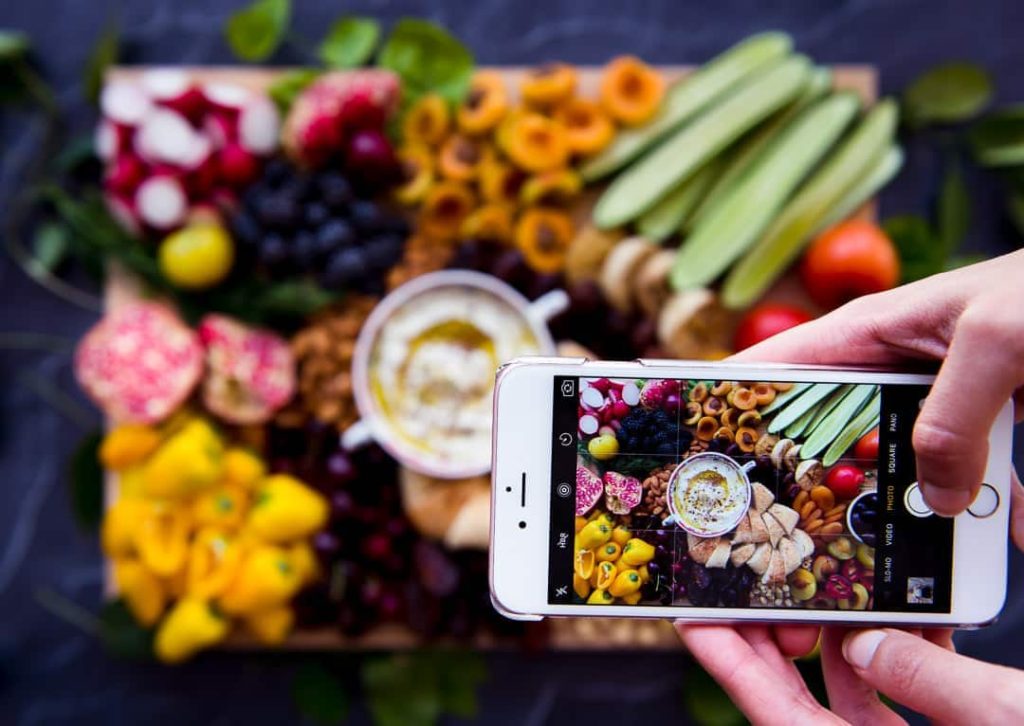
Your story will lead you to compose the photo accordingly. Explore which angles bring out the best in your shot. Does the food look more delectable at a 45-degree angle? Will the buffet spread look better with a top shot? Will a flat lay be better than a close-up?
The rule of thirds is a common rule for photographers that you can use. Budding photographers can make use of this guide by dividing the frame into thirds. Place your subject within these lines for better composition and balance.
You really cannot pick pretty food all the time. Some restaurants go to great lengths to serve exquisitely styled dishes while some dives just heap it on a platter and it’s good to go. When this happens, play by doing something unexpected.
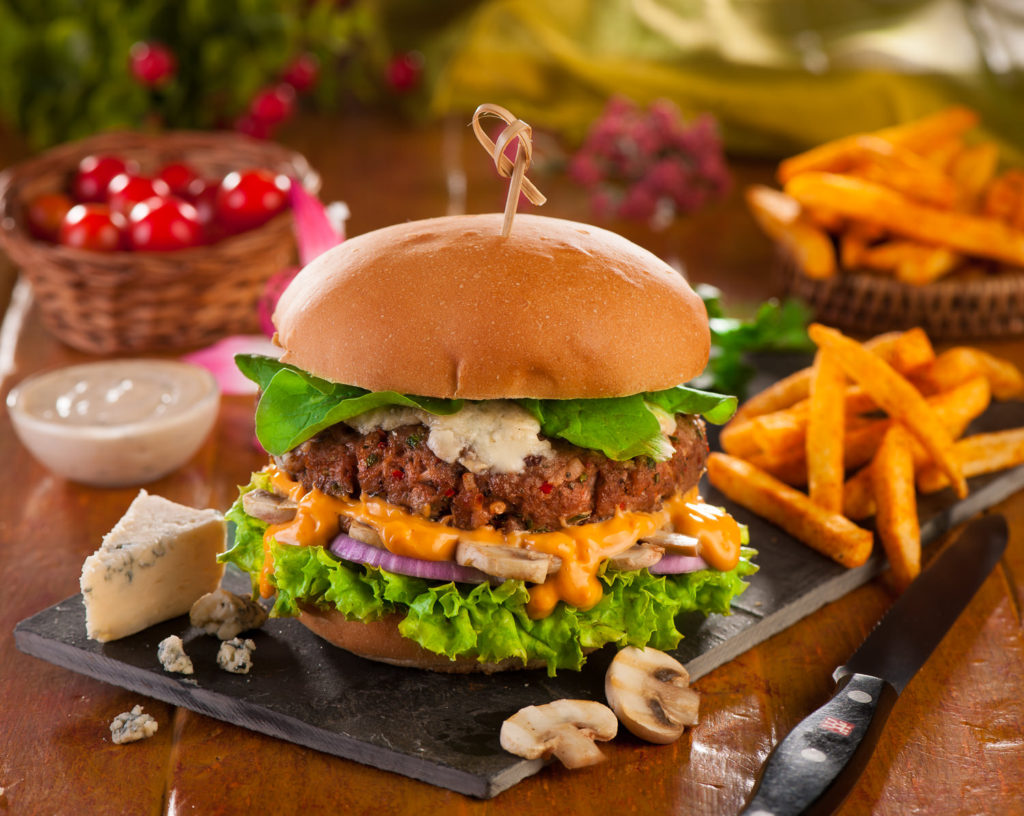
 Pick a subject to focus on – a juicy red tomato in a sea of nachos, the oozing cheese melting out of a burger bun, or that solitary chocolate truffle that rolled out of a bowl of sweets. Train your camera to look at that subject and click. The rest of the background will fall into place, lending a back-story to your shot.
- Choose a colour
Let a pop of colour add zest to your shots. Or tame down a wild assortment of food by placing them against a plain background.
Colour plays an important part in food photography. White backgrounds would work best if you are still practising. It gives you a clean slate to compose your subjects without being distracted by props. White tablecloth, white plates, white walls — these will allow you to focus on the food.

When you’ve mastered that, then you can progress to a colour combo or a simple palette. Make use of the colour wheel. Choose complementary colours or those that are close to each other. Compose your food subjects with these colours in mind. A seamless or cohesive colour scheme will make your food stand out.
- Let there be light
To use flash or not use flash, that is the question.
It really depends on where you are and the amount of light available. If you must use flash, bounce it off a ceiling or wall. This will help avoid washed out or “burned” pictures that have been taken with direct flash.

Typically, though, aim to shoot with natural light. When you’re out travelling, for example, choose to eat near a window or outdoors. Soft lighting can bring out the natural look of the food. If the place is too dim or has terrible lighting, just put down your camera and pick up your fork. Time to eat!
- Breathe life into your shots
Your photos should move to people. Add elements that will let people see it’s delicious enough so they cannot help themselves but try it. Infuse texture, movement, and shape. Try to capture the fizzle of soda pop, a hand daintily plucking a grape out of the bunch, or even a haphazardly folded newspaper beside a hearty serving of waffles.

Show that your food is not just still life. Convince your viewers that the food in your photos is meant to be savoured. Show people interacting with a gastronomic feast. Is it a hamper of food all packed and ready to go for a picnic? Is it a shot of steaks on a grill ready to be devoured? Are you showing a sliver of delectable cake all ready for the taking?
Good enough to eat
Capture the feast with the abovementioned tips in mind and you will have people wishing your photos were like those sniff and scratch cards in magazines.

When you breathe life into and add verve to your shots, food will turn out to be so realistic it can seem to jump out to your viewers screaming, “Eat me!”
Whatever the reason behind you taking endless snapshots of food, it’s a fact that it has become a delicious pastime for many. It’s a visual diary of your epicurean escapades, preserving memories in digital eternity.


500 thoughts on “5 Surprisingly Simple Tweaks to Take Better Food Photos”